Difficulty: Intermediate
Age: Adults
Description:
Lets explore and create a series of coaster/wall deco by recycle the cloth! Now... let us start with the Spring! STAY TUNED as we have summer, autumn and winter coming soon~~~
What you'll need:
sewing machine, needle and color thread, different design/pattern of cloth (either new or old), felt sponge (16cm x 16cm), scissor
**this coaster/wall deco is just 15cm x 15cm, thus, the cloths size to prepare just need to be fit in this size.
How to make it :
1) Cut 2 pieces of pattern cloths (preferably light color) with 16cm x 16cm in size.

2) Join the 2 pieces of pattern cloths together with the felt sponge sandwiched in between of the 2 pieces pattern cloths by using the sewing machine.
3) Cut and join another pattern cloth (preferably dark color) with needle and string.
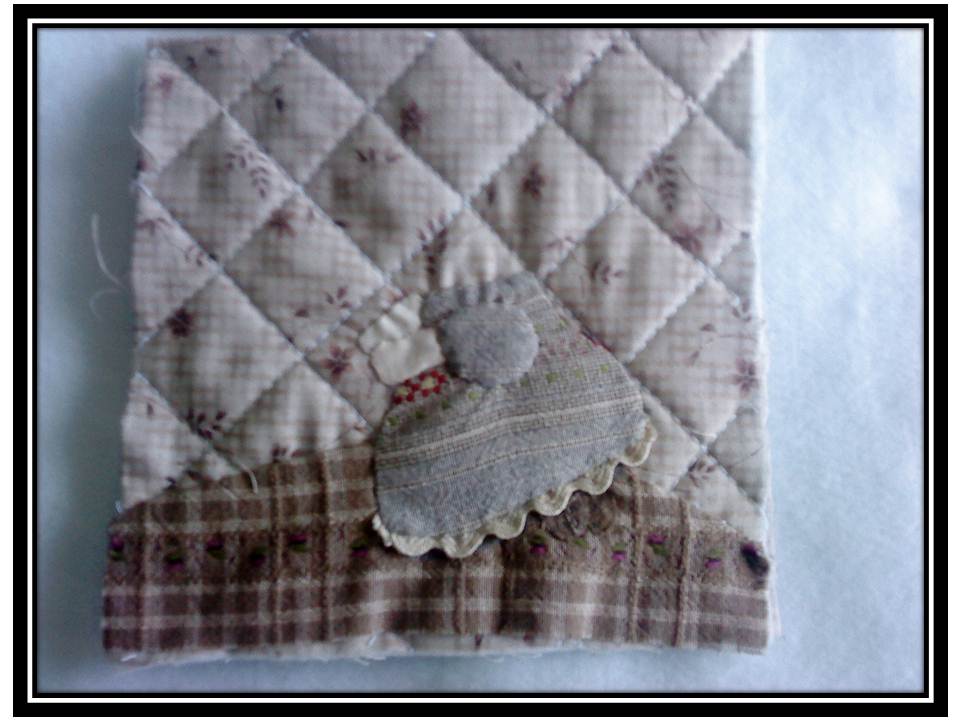
4) Now, cut 2 circles (the sizes need to estimate from the picture beside) and sew it on the position shown in the picture. This is to be used as the shoes for the little girl.
5) Continue to cut one piece of white/beige cloth to be used as hand. Sew on the hand with needle and thread at the estimated postiion of the little girl's hand.
6) Sew the lace for the dress. Before stitch on, need to measure and estimate with the size of the dress.
7) Now is the turn to sew for the dress. You may add some cotton underneath the dress so that the dress will look more "3D". Be careful not to fill with too much cotton if you are going to use it as coaster.
8) After that, stitch the another hand follow by the sleeve.
9) Now, it's the time for the hat! And the little girl is done! The color of the cloth must be darker or more colorful than the background color to make the whole craft work more attractive.
10) Sew some flower on the ground and also on the girl's hand with color thread.
11) The picture beside shown when every sewing/stitching are done.
12) Lastly, just add the border~
WISH YOU ENJOY IT!


No comments:
Post a Comment